DIY Galley Kitchen that is renter friendly! What’s a galley kitchen? A galley kitchen is a long, narrow kitchen that has base cabinets, wall cabinets, counters, or other services located on one or both sides of a central walkway.
This DIY happened back in 2018. I rented a small studio in Jakarta as I had to go back and forth from Melbourne for work. I needed a creative space away from my family’s place. A place where I can do my design quietly and take photos for my products.
The studio was a small space at 32 sqm. It comes with a plain short galley kitchen with no cabinets and no functioning counter. Apparently, it’s a pretty common thing in Jakarta. I don’t need a fully functioning kitchen, so I decided to create a cute pantry for my tea and coffee nook.
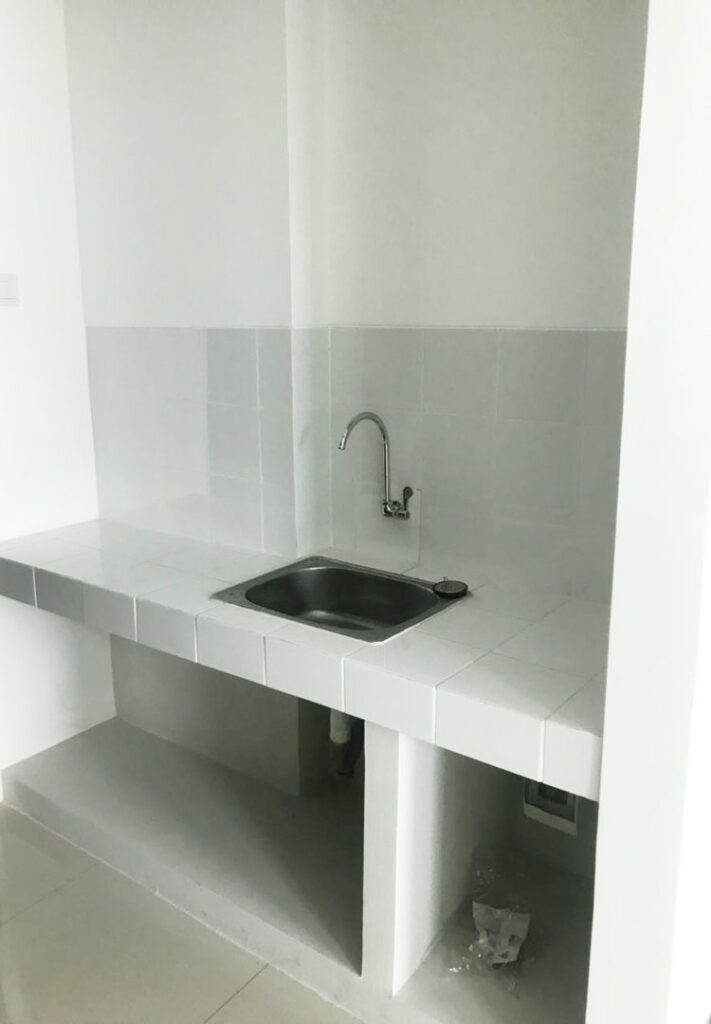
As you can see, the kitchen only comes with a sink. The storage underneath has no cabinet doors and no storage on top. My first idea was to build a cabinet on top for more storage, but it would look heavy as this is a small studio. Especially because the kitchen is located next to the entrance and opposite the bathroom.
Okay, let’s do this DIY Galley Kitchen mini renovation!
First thing first, I measured the storage underneath to build the cabinet doors. I have a construction worker that helped me to build the complete doors for just Rp.1,800,000 (AUD$166) I know, I know, it sounds expensive but that’s it was the cheapest custom-made cabinet doors I could get.
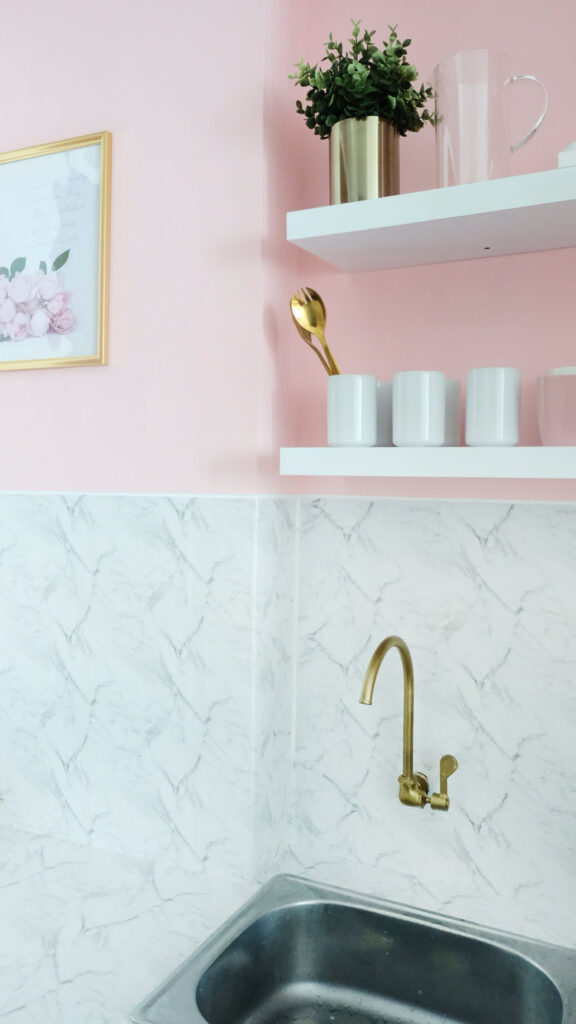
The second step that I did was to spray painted the faucet. I was thinking to get a new brass gold look faucet in IKEA but it’s out of my budget! I don’t want to invest in a place that I rented, maybe one day when I have my own place, I would definitely get it!
Here’s what you need:
- Gold spray
- Primer (could be spray or paint)
- Any unused paper for cover
- Coarse grit sandpaper
- Tape
- Clean dry cloth
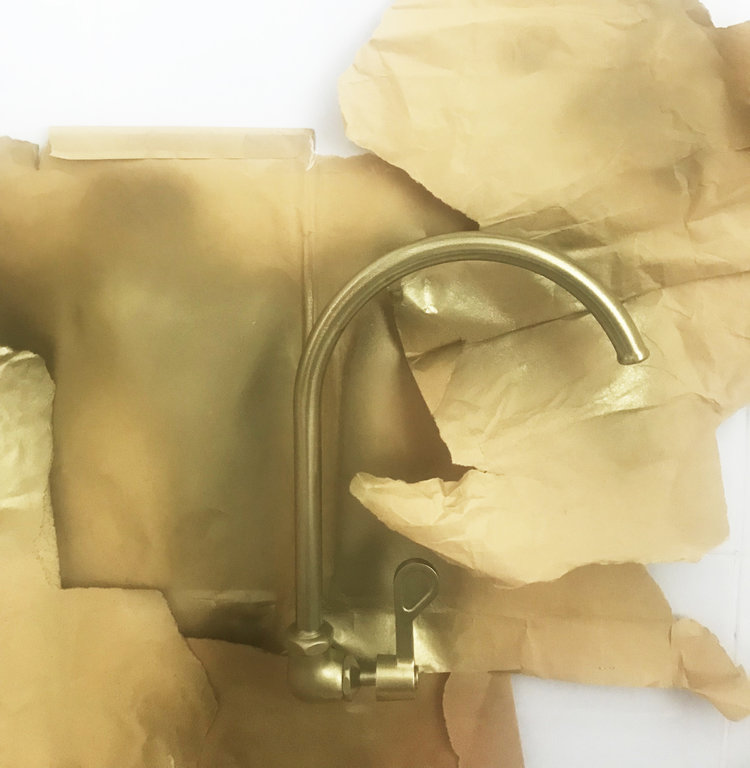
Make sure to clean the faucet, cover the tiles at the back with unused paper. In this case, I am using the used packaging I got from online shopping. Then, use the coarse grit sandpaper to rub the surface.
Once you have the right texture, spray paint with primer. Wait for 15 minutes, and then spray paint it with the gold spray, keep repeating every 15 minutes until you get the right colour and shine! I only sprayed twice as and it looks good enough.
Next step, instead of a storage cabinet unit, I decided to use a floating shelf/wall shelf that I got from a local store here in Jakarta. I chose 2 white wall shelf, they only come in 3 sizes (80 cm, 100 cm, and 180 cm) So, I used the 80 cm wall shelf because the wall is only 98 cm in length (damn right).
I bought the paint from ACE hardware and chose the colour code “Lovely Pink” to create the cute feminine pantry that I visioned. After I finished painting the wall and installing the wall shelf, then I let the handyman drilled the wall to install the custom-made cabinet doors. I chose the high glossy white finish for the cabinets to match my wall shelf.
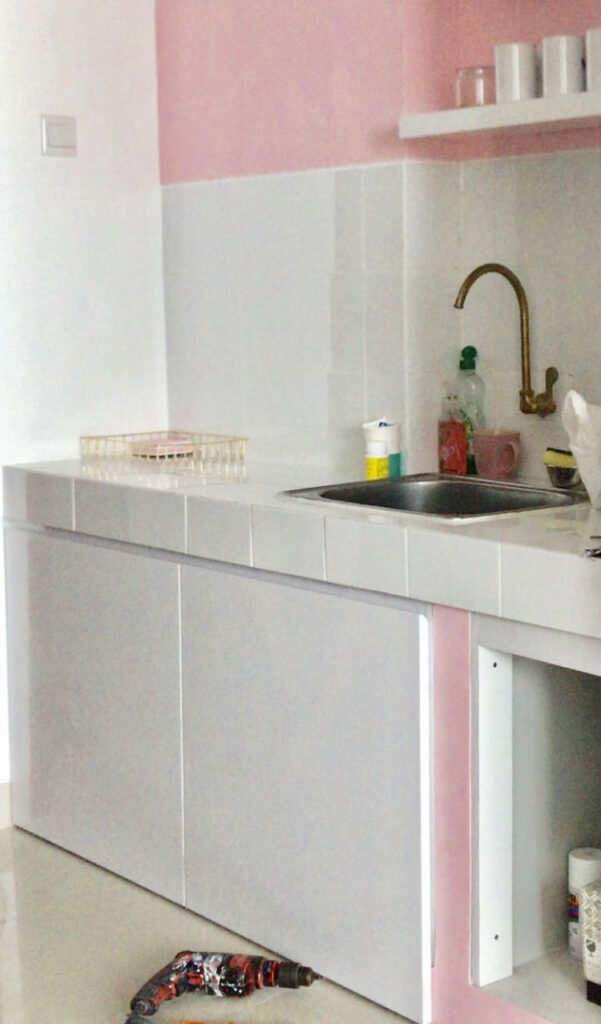
I still didn’t like the tiles splashback. The tiles were actually nice and clean but I wanted to create a more dramatic look. Hence, I used an easy-peel vinyl to replace the visible tiles. I used White Marble Look Vinyl Adhesive Roll from Kmart, the size is 45 cm x 2 meters. I used 2 and a half rolls for this kitchen size. It is very easy to apply.
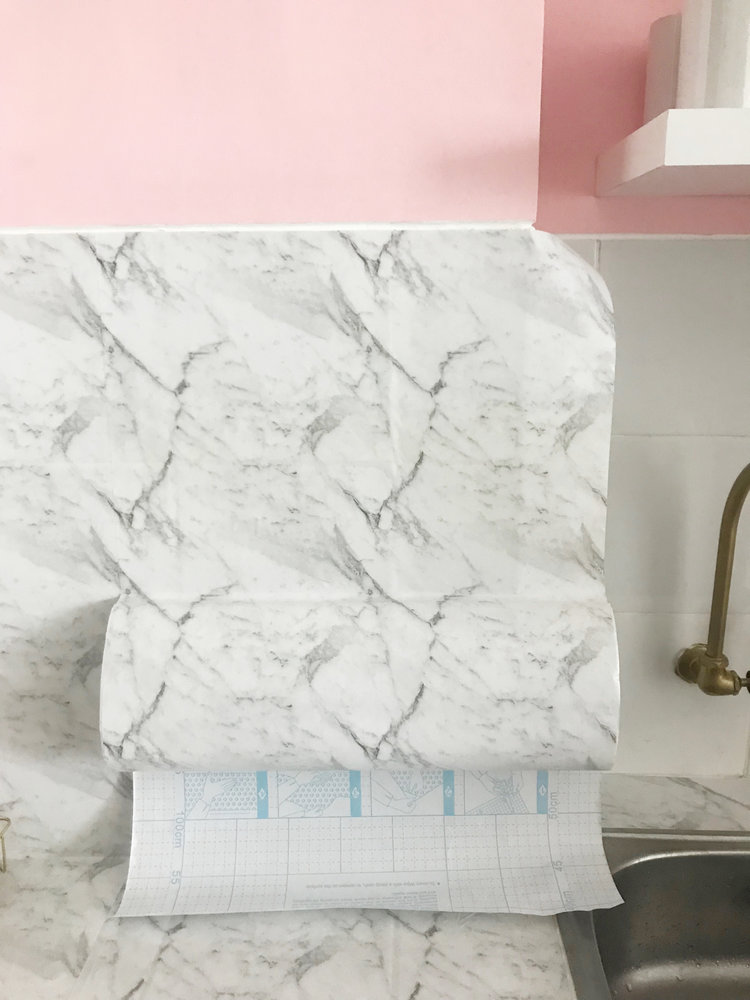
The vinyl roll is a sticker that you can peel off once you are done with the rental place or when you are bored with the look. It is water-resistant and easy to peel with no marks behind.
Voila! The DIY Galley Kitchen is done!
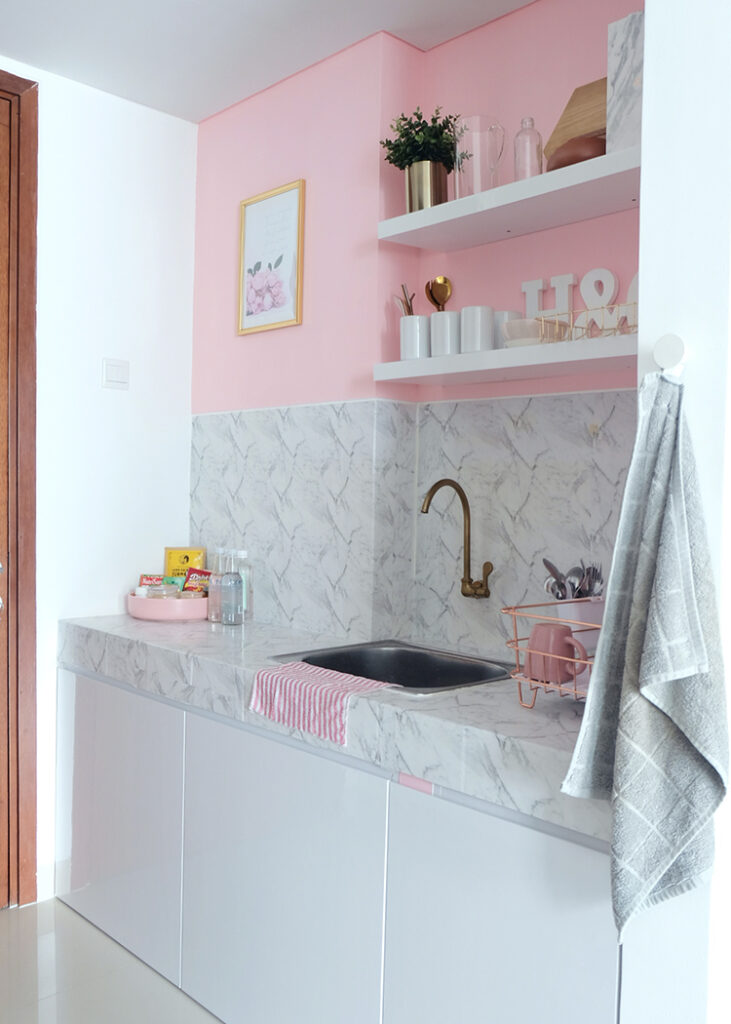
Total cost of all of these are:
- Custom-made 3 cabinet doors for the underneath storage Rp.1,800,000 (AUD$166)
- Spray paint, primer, sandpaper Rp.205,000 (AUD$19)
- 1 litre of pink paint, 1 small brush, and 1 large brush Rp.345,000 (AUD$32)
- 3 White Marble Rolls Rp. 97,000 (AUD$9)
- 2 White Wall Shelf Rp.250,000 ($23)
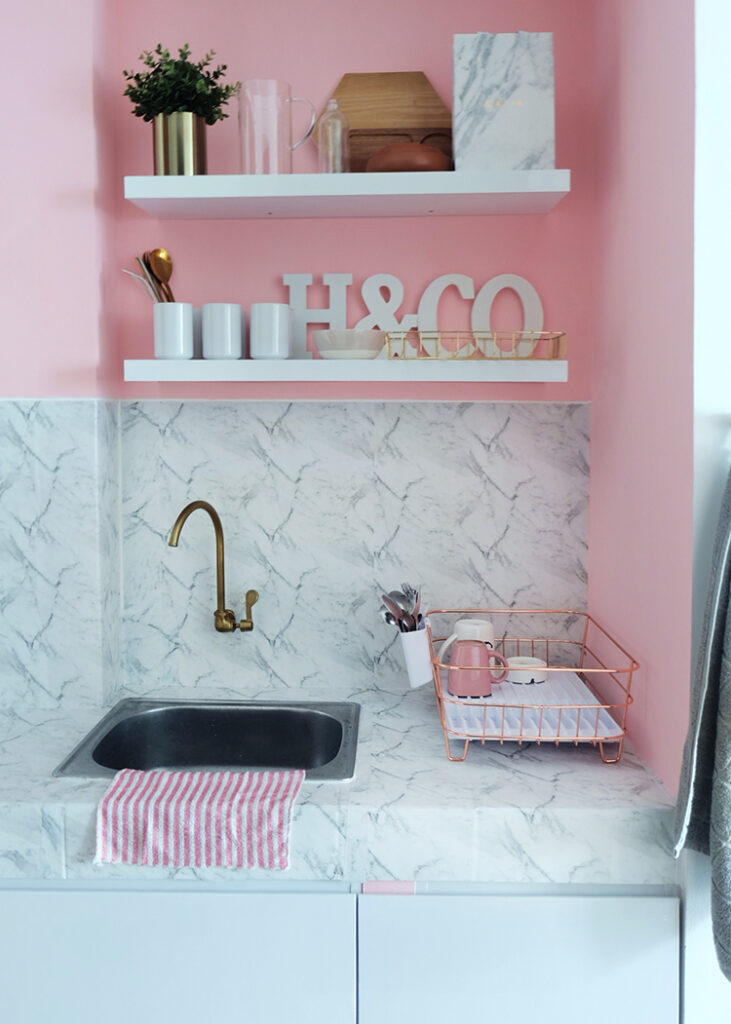
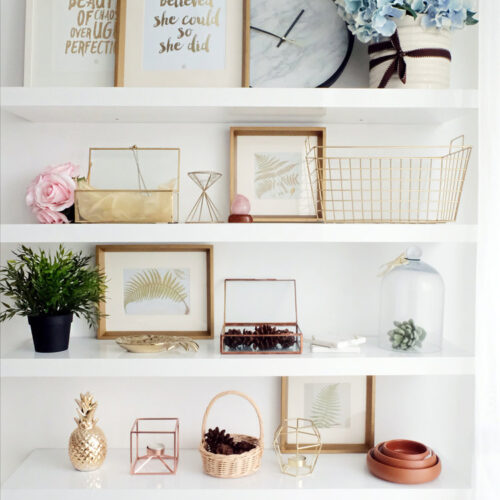
This mini-renovation only costs Rp. 2,697,000 or roughly AUD$249. Then I added some gold accessories and glass ornaments to create the whole look together! Featuring Harriet’s brass and gold products too.
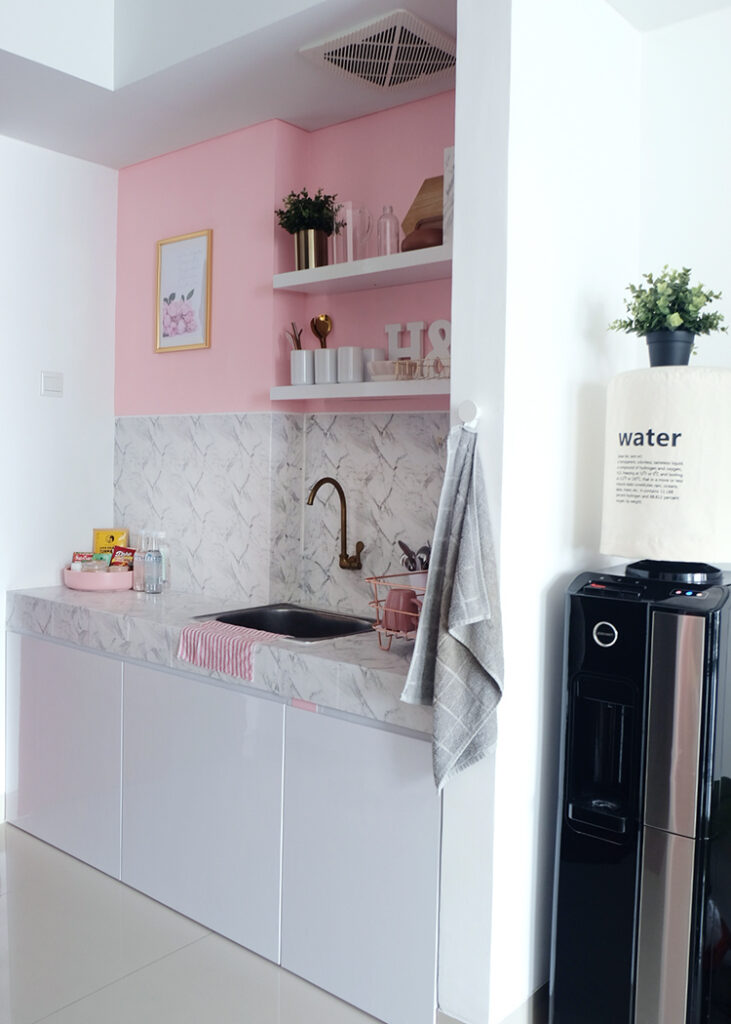
NOTE: Pardon for the image quality as I didn’t plan to blog, and were only using iPhone 7 to shot the images.
For more interior tips & styling, click here
